
To setup your HMG - v4 Space Bucket
- Attach the fan adapter and fan to the bucket. The fan should blow outward.
- Install Wicking Rope
- Place the bucket stand into the water reservoir bucket.
- Place the bottom bucket on top of the bucket stand in the water reservoir bucket.
- Plug the fan power connector into the 12v power supply connector.
- Place a UFO LED grow light on top of the top bucket.
- Fit the top bucket into the base bucket.
- Plug the 12v power supply connected to the fan into the power strip.
- Add the 24 hour timer into the power strip and plug the LED grow light power plug into it.

1. Attach the fan adapter and fan to the bucket.
Use the 4 provided screws and nuts to attach the fan bucker adapter to the top bucket. Each fan adapter requires 2 screws and 2 nuts to secure it to the bucket. The fan should be positioned to blow outward.

2. Install Wicking Rope
Insert and pull the pieces of wicking rope through the holes at the bottom of the base bucket. Tie a knot at the end of the wicking rope, which will help keep the wicking rope in place.

3. Place the bucket stand into the water reservoir bucket.
Place pvc bucket stand into the water reservoir bucket

4. Place the bottom bucket on top of the bucket stand in the water reservoir bucket.
You can water your plant from the hole on the side of the watering reservoir or lift the space bucket out of the watering reservoir and add water. Self-watering should only be used once your plant has been transferred to the fabric grow bag and has established roots. Before then, you can directly water your seedling from the top.

5. Plug the fan power connector into the 12v power supply connector.

6. Place a UFO LED grow light on top of the top bucket.

7. Fit the top bucket into the base bucket.
Make sure that the top bucket is snuggly fit into the base bucket. The snug fit should prevent any air from leaking out of the sides of the connecting two buckets. There are two bucket extensions that can be used to extend the height of the system.

8. Plug the 12v power supply connected to the fan into the power strip.
Note: You can mount the power strip to the side of the top bucket with duck tape. All electrical components should only be on the top bucket. As a note of caution, please remember to plug the power strip into a GFCI socket. Doing so will prevent serious shock from the wall power supply if something were to go wrong.
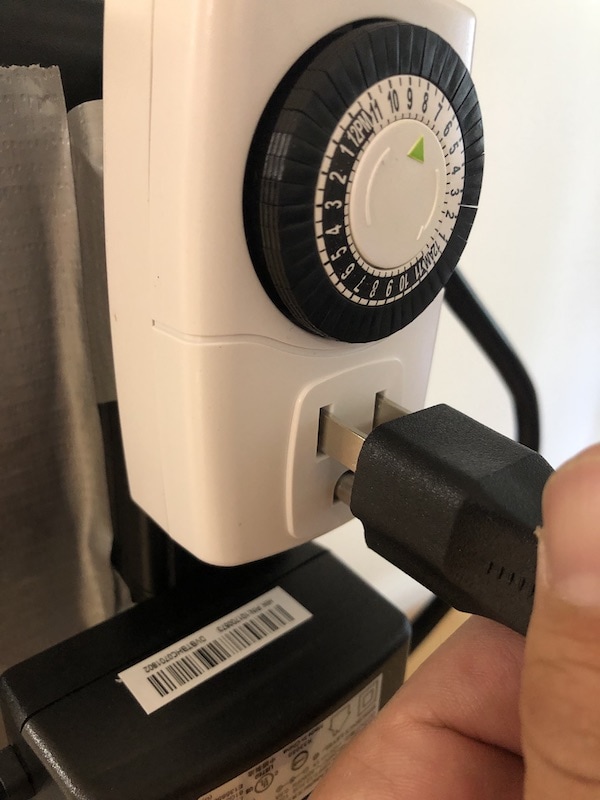
9. Add the 24 hour timer into the power strip and plug the LED grow light power plug into it.
Set the timer to 18 hours of light and 6 hours of darkness for vegetative growth and to 12 hours of light and 12 hours of darkness for flowering.